Monday, August 27, 2012

Towel Basket & Computer Chair

First let me apologize for the quality of these pictures.  Some are quite dark & others too light ;(


My son had an old computer chair where the back had came off.  Generally we just kicked it around in the house to kick our feet up on when watching TV or for other trivia things. 


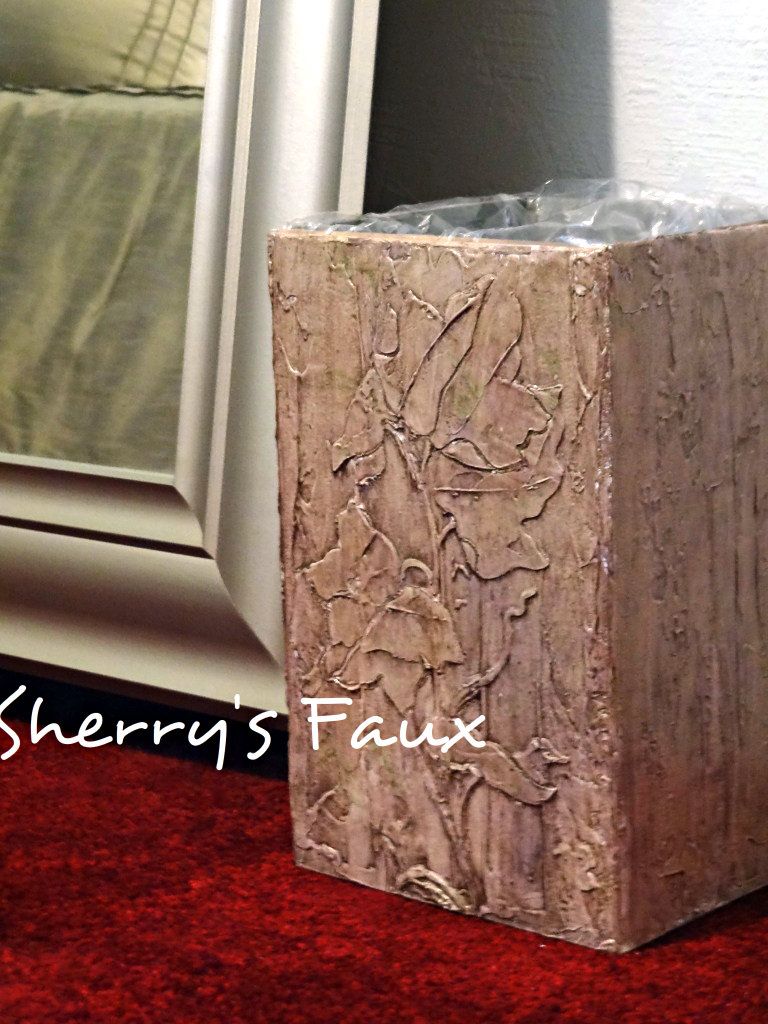
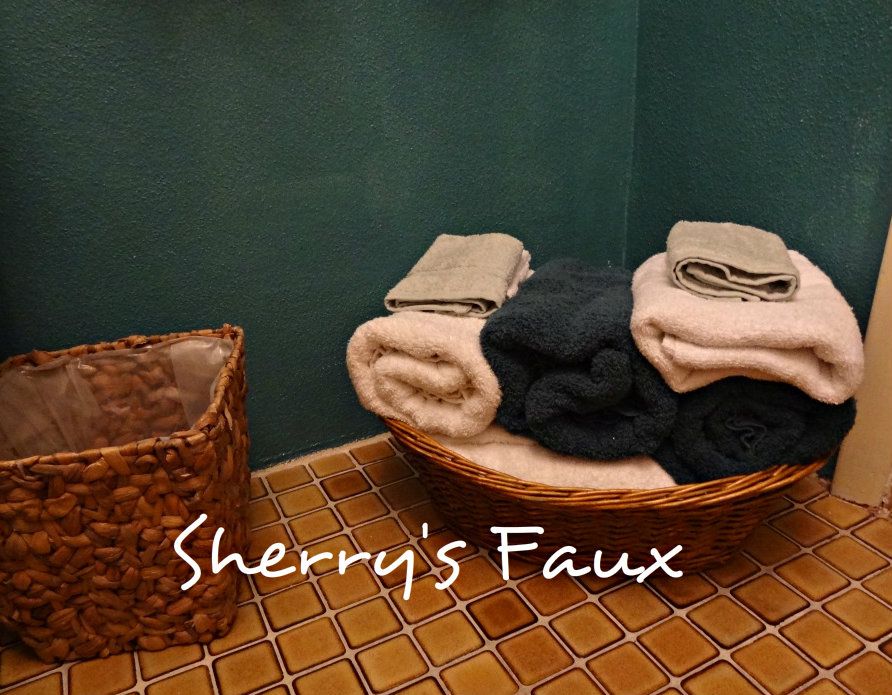
I decided I wanted to use it for my towel basket that I kept placed on the floor in my bath.


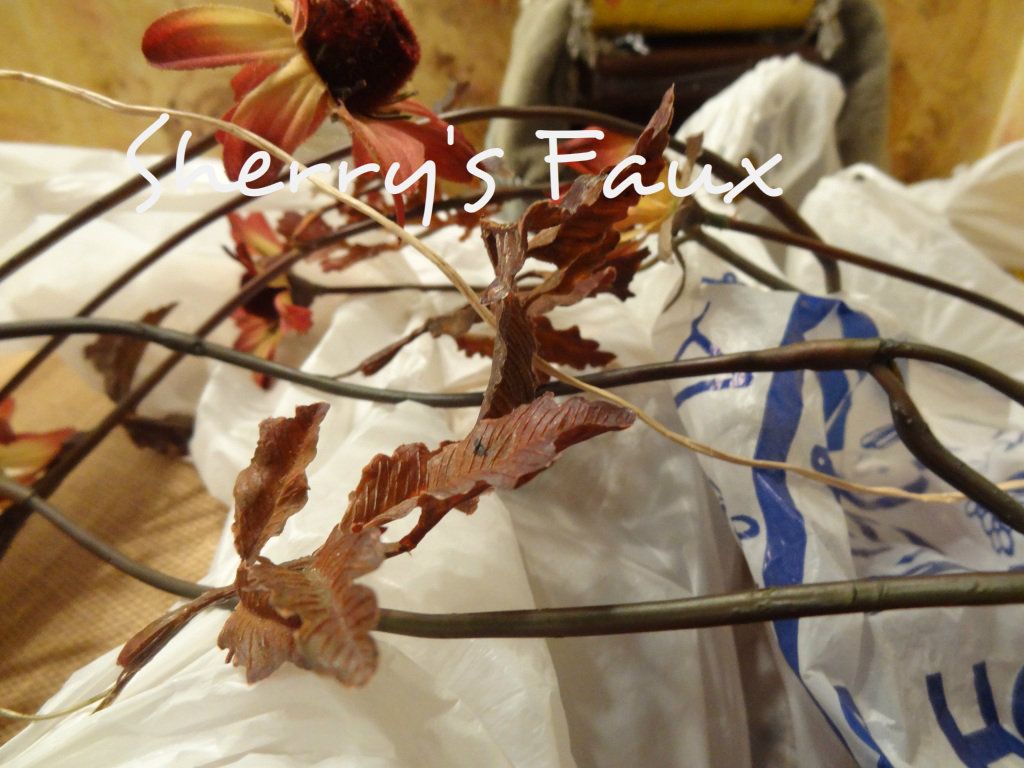
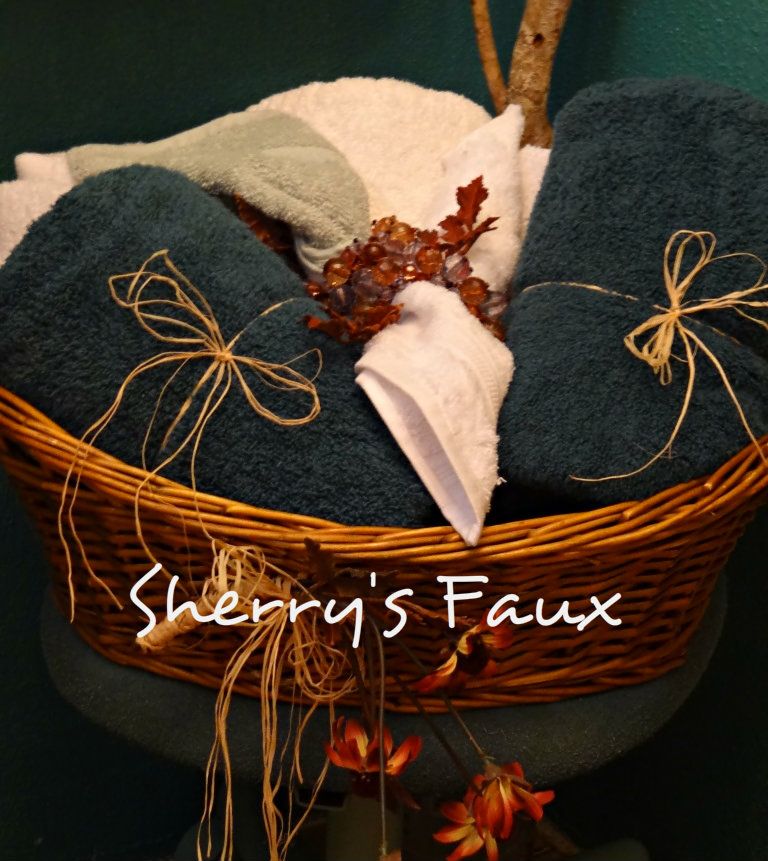
I first spray painted the chair jade, I had to use 2 cans of paint to get a even coat over the black.  Then I grabbed some silk flowers to attach to the basket with raffia.


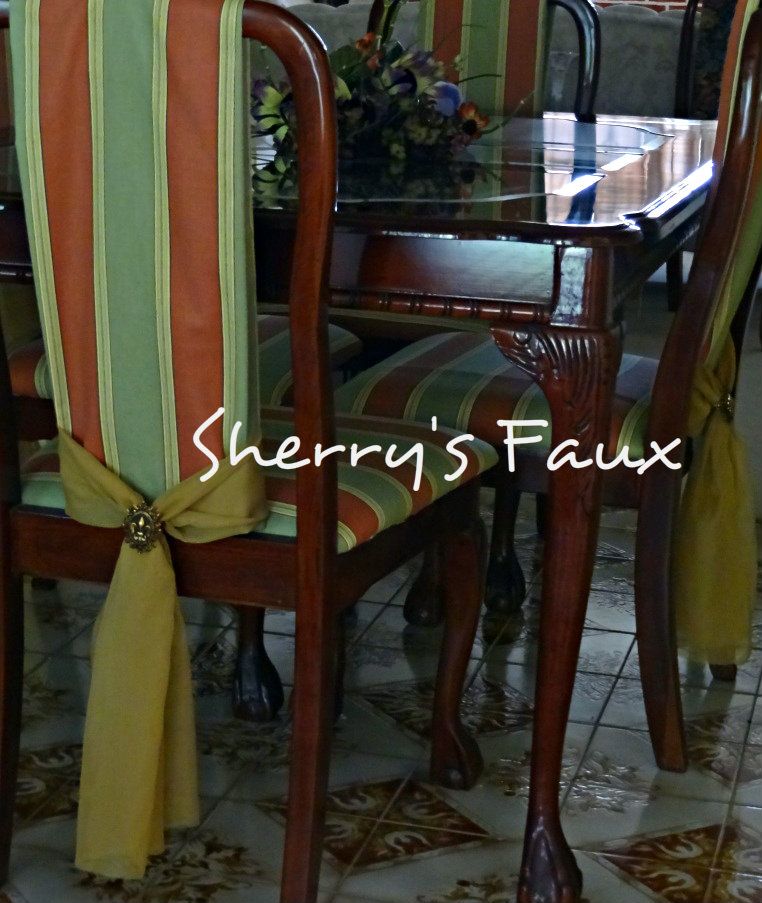
I rearranged my towels, and that was it!


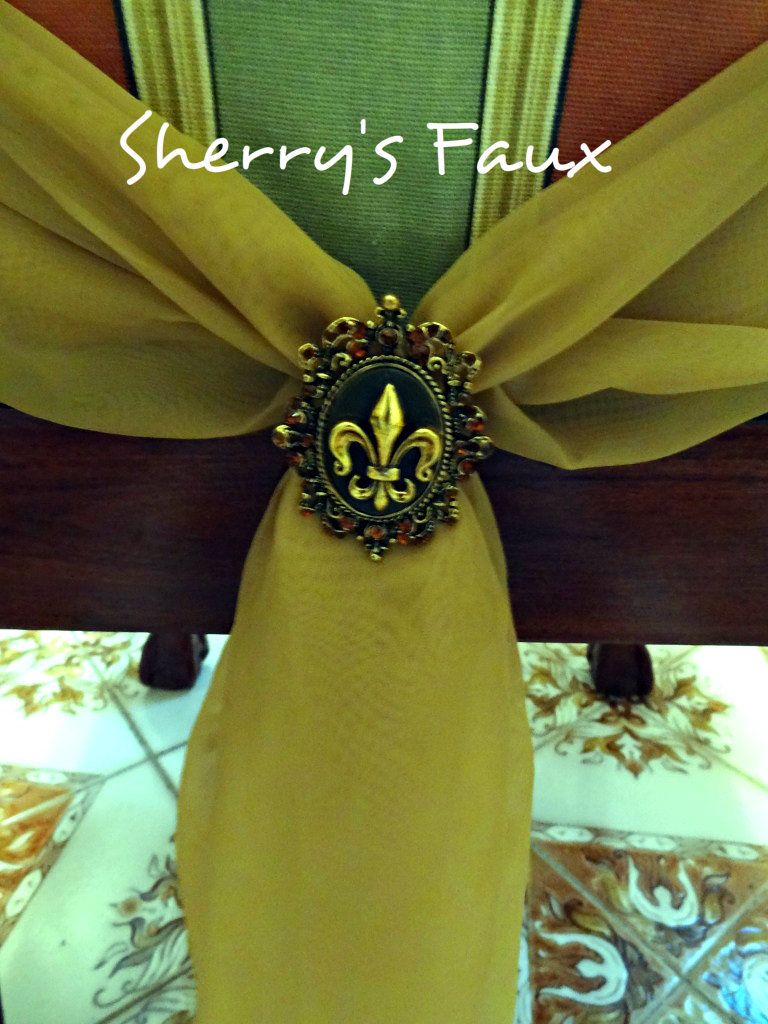
Napkin rings & silk leaf for towels


There you have it.  Not much, but lifting the basket off the floor does makes for better.


LET YOUR CREATIVITY FLOW!

Monday, August 20, 2012

Bedroom Wastebasket

For sometime I've been looking for the perfect wastebasket to place in my room.  Unfortunately, everything was either too white, too green, too wooden, too wicker, too plastic or too expensive.  So I stopped looking...

And then one day I spotted the perfect wastebasket.  It has beautiful, intricate details, a work of Art!


It has that perfect stone faux look; defined with crevices


 A plastic liner lines the inside so I never have to worry about using a plastic bag


 The colors cranberry and uniform blue are mused and softened with splashes of olive green and glazed with blackened bronze.  On the inside, the color boasts castle rock.


Not only is it perfect for my bedroom


It's perfect because it started with a box!


That was spray painted


And then plastered


Isn't it amazing what we can do when we set our mind to it...


After all, how often do we enjoy showing off our wastebasket?  LET YOUR CREATIVITY FLOW! 

Monday, August 13, 2012

My Free GRAPHIC IMAGES

NOTE:  If you're following me and I'm not following you, please leave a note so I can follow you back.  Thanks

Today I want to show off a gift that was given to me.

About two weeks ago a fellow blogger The Cottage Market emailed me to say I was the winner of some neat graphic images.  I didn't win just 1 or 2, not even 5.  I had won 10 big ones...10 graphic images!  But there was a catch.  I had to go to her Etsy Shop Popalicious and select the images I wanted.  If you've ever visited Andrea's Etsy Shop you know how difficult it can be deciding on the right graphic images, she has over 200 to choose from. Making the decision was mind boggling but I'm happy with my pickings... Did I mention I got one extra??? So, instead of 10 graphics I got 11!  You can't imagine my excitement once I received them.  Here are my goodies!


Aren't they terrific!

When you have a sec, you gotta check out her blog The Cottage Market, it's interesting read, contains yummy recipes and some darn good tutorials.  Or, if you're looking for something different in graphics check out her Etsy shop here.  Either way you can't go wrong, you'll definitely enjoy the two.   Thanks for the great graphics Andrea!

Don't forget to LET YOUR CREATIVITY FLOW!

Monday, August 6, 2012

Big Ring & Dining Chairs

I'm sure you're familiar with those fashionable big rings everybody's wearing.  I luv them but personally I think my fingers are too short & stubby so big rings sort of over power my hands.  Anyhow when I saw this ring I knew it was the right ring for me...


I liked it so much I bought 4 of them...yep!  Not 1 or 2, I wanted 4 of the same rings.  I know you're wondering why. 


 Definitely not for my fingers.  What caught my attention was the stretchy band.


And that's why I bought 4 of them!  Remember my dining chairs I covered sometime back? (click here)   I decided I wanted to dress them up a bit.  So I took some sheer fabric I had lying around (the same sheer fabric I used for my dining room window treatment).


I folded the fabric to go around the bottom back of the chair.


I then used the ring to hold it in place in the back


Four rings for 4 chairs!


The rings were $1.50 each and I already had fabric.  Total cost for the update, a Whopping $6!


BEFORE


AFTER


Who said rings should be worn on our fingers only??? LET YOUR CREATIVITY FLOW!