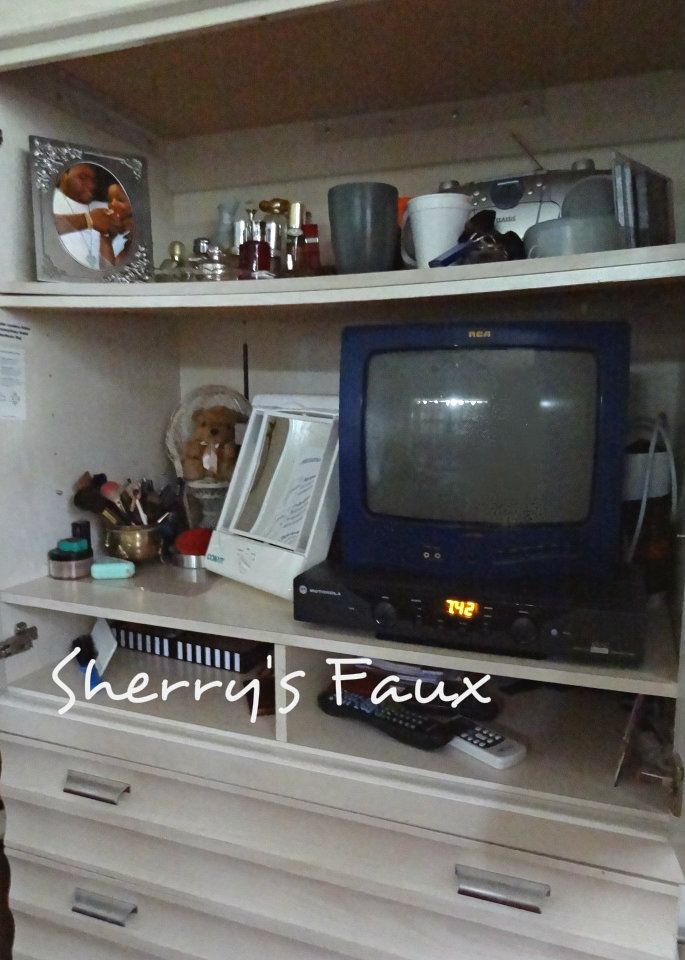
Right now I'm juggling between getting a project completed for a friend and trying to get my Armoire organized. When you have limited space, like me, it's important that you utilize every inch in your house wisely and that includes my Armoire. I not only utilize it for storing clothes, it serves as a vanity when applying makeup, holds my TV when retiring in the evenings, store perfume, my jewelry, etc. - so you can imagine how junky it gets is.
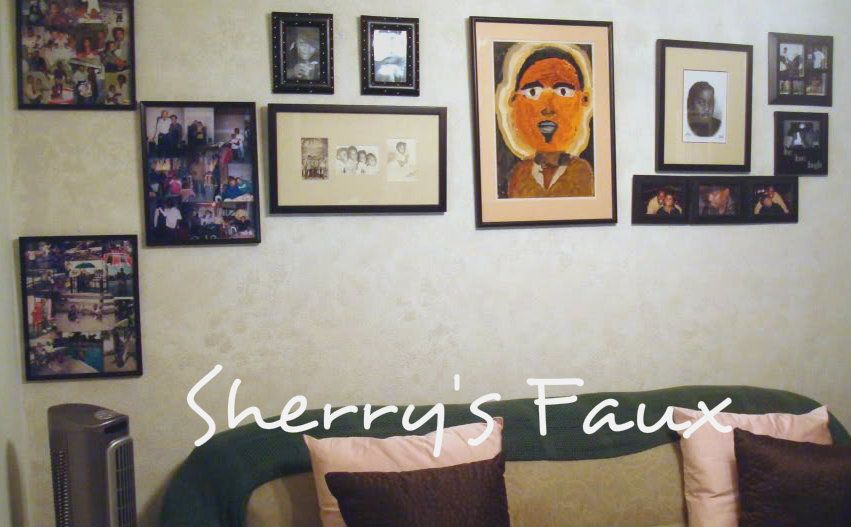
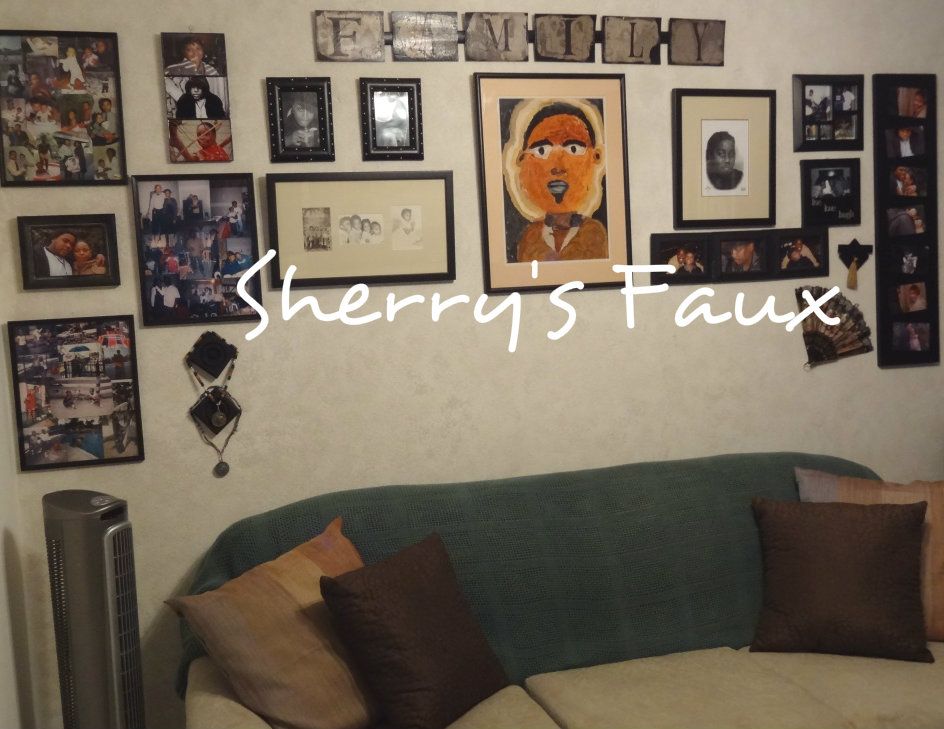
Here's my Armoire in all it's clutter-ness!
I went online just to get some ideas on how to organize/unclutter my Armoire. I got some interesting ideas from Revamped Armoires for Small Space Storage


I figured this would take me a week or two to complete, but here's what I finished so far. I knew I needed boxes and fabric. I had some fabric left over from a previous project that I could use for lining the boxes, and I had been holding on to some old curtains that I would use to cover the boxes...
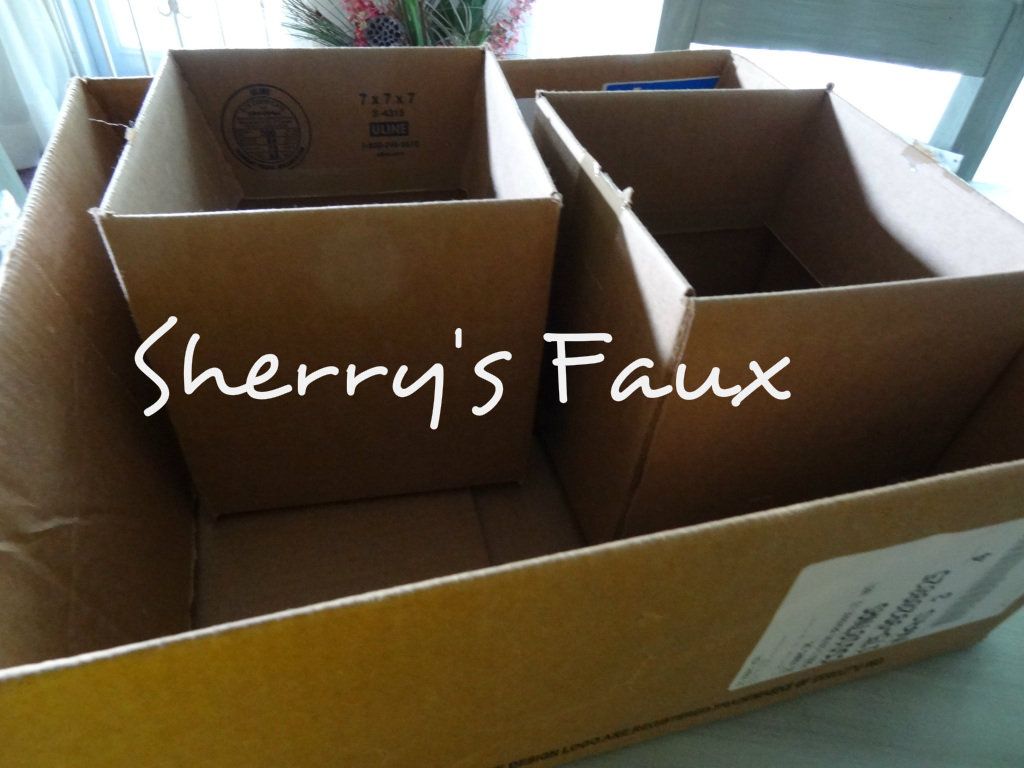
I found 3 boxes
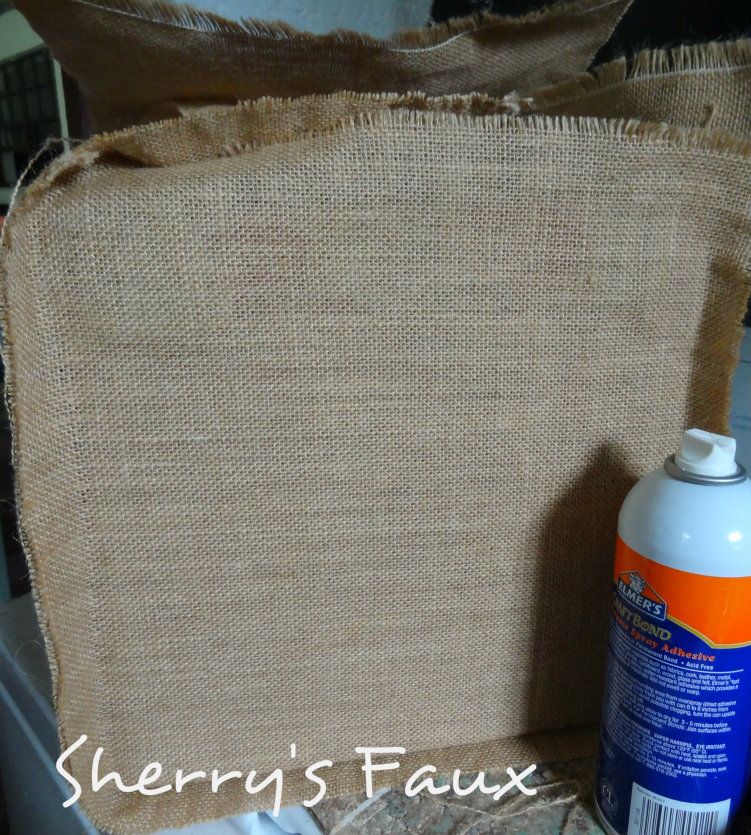
Spray adhesive was used for sticking fabric to boxes and for the lining.


I came across veneer edging in the store some time ago. Never had a chance to use it so I decided to give it a shot.


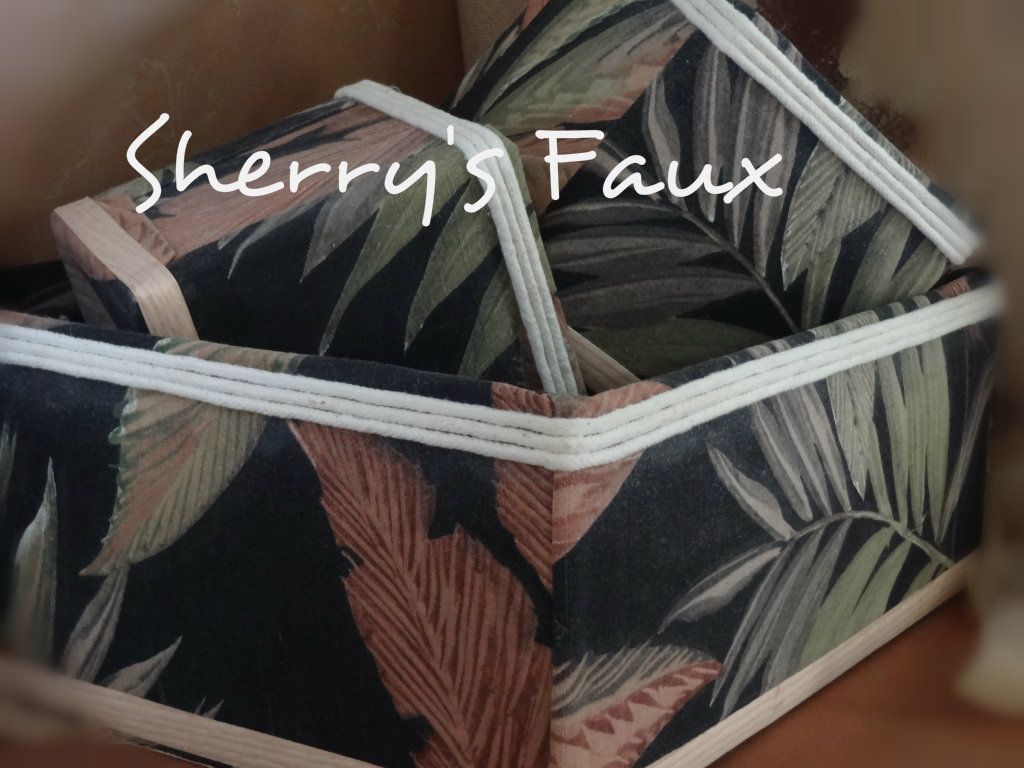
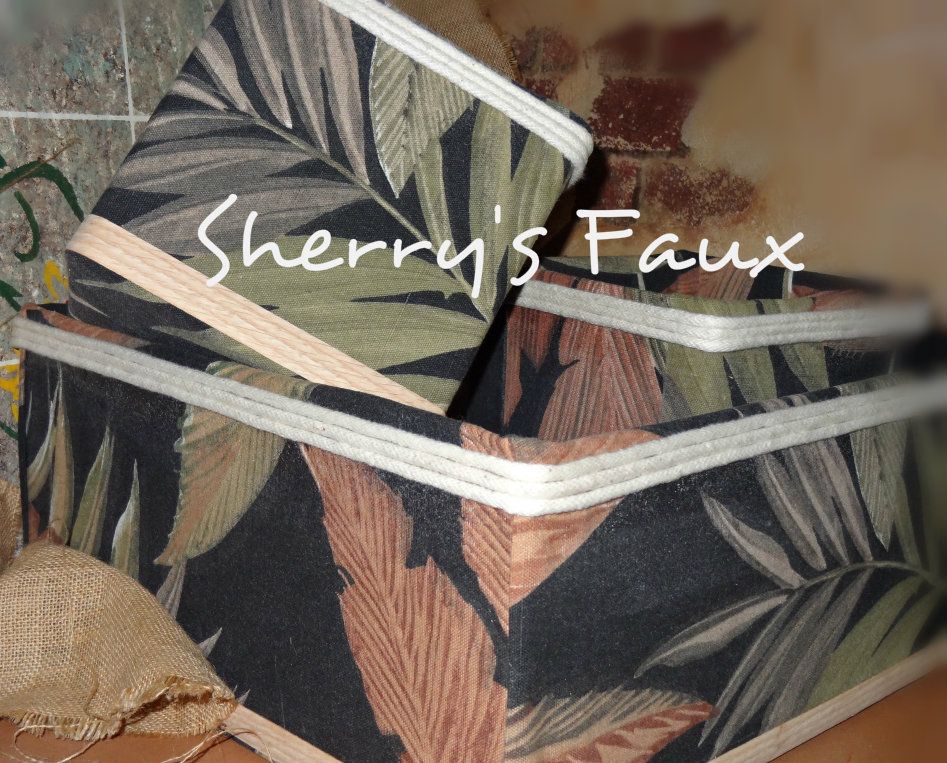
Here are my three decorative boxes I'll be using to organize my Armoire.
I'm still working on some other stuff; I'll definitely post once completed.
PLAIN BOXES BEFORE
DECORATIVE STORAGE BOXES AFTER

Here's my Armoire in all it's clutter-ness!
I went online just to get some ideas on how to organize/unclutter my Armoire. I got some interesting ideas from Revamped Armoires for Small Space Storage


I figured this would take me a week or two to complete, but here's what I finished so far. I knew I needed boxes and fabric. I had some fabric left over from a previous project that I could use for lining the boxes, and I had been holding on to some old curtains that I would use to cover the boxes...
I found 3 boxes
Spray adhesive was used for sticking fabric to boxes and for the lining.
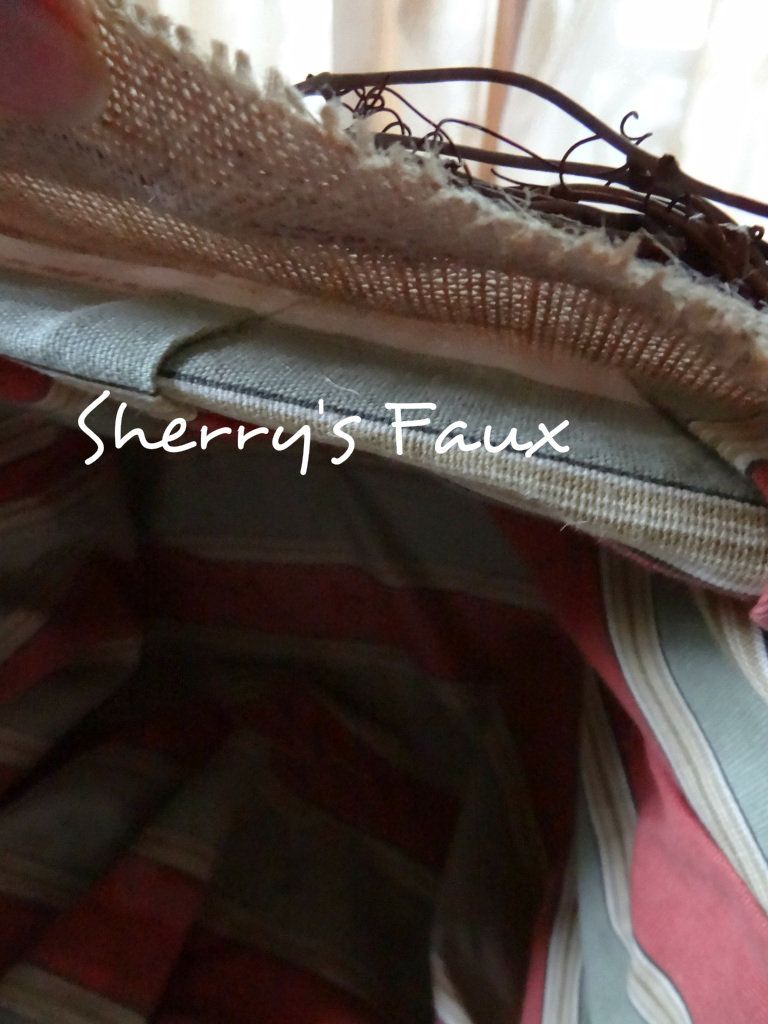
I used twill to wrap around the top edges (fabric glue was used as adhesive)
I came across veneer edging in the store some time ago. Never had a chance to use it so I decided to give it a shot.
Here are my three decorative boxes I'll be using to organize my Armoire.
I'm still working on some other stuff; I'll definitely post once completed.
PLAIN BOXES BEFORE
DECORATIVE STORAGE BOXES AFTER
I'll be sure to pop by and visit everybody and don't forget to LET YOUR CREATIVITY FLOW!


