
Monday, December 24, 2012
Monday, December 17, 2012
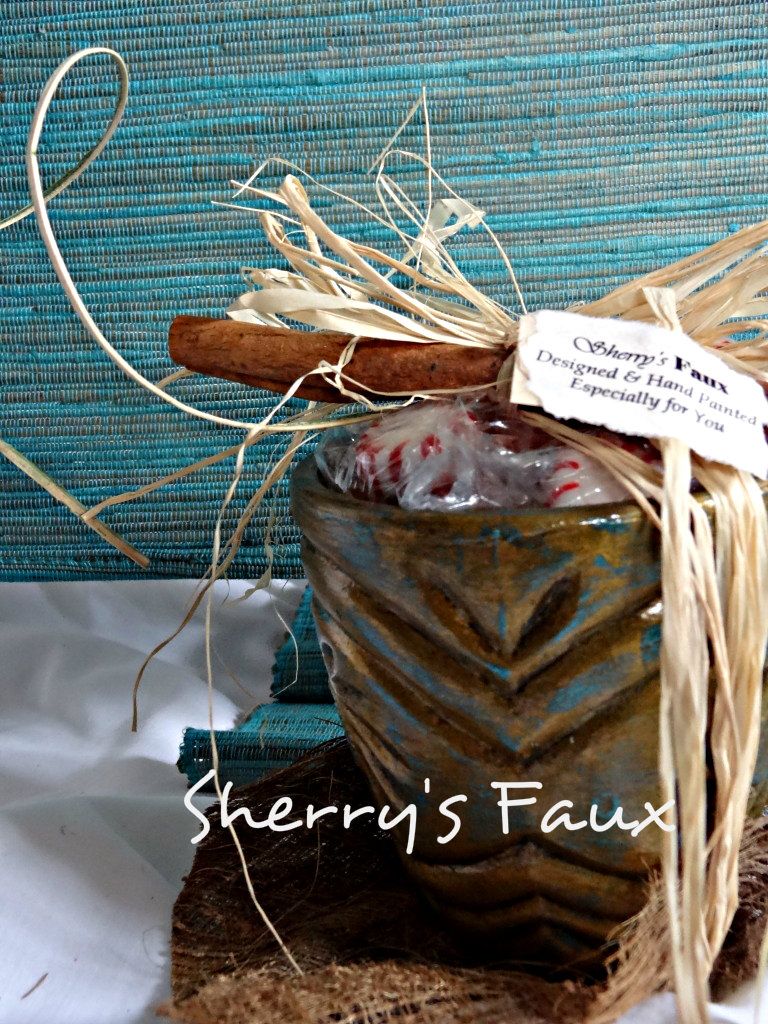
Candy Bowls with a native Flair!
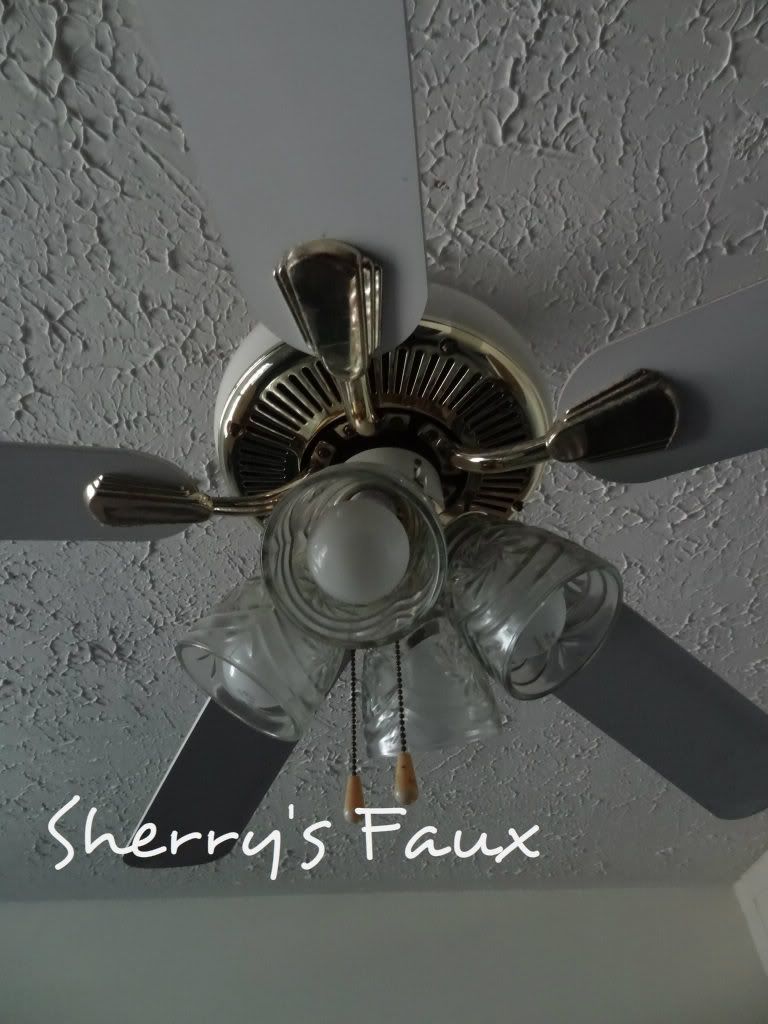
I completed all of my candy bowls, I'm due to have surgery, so passed them out early to my colleagues! If you didn't catch my previous blog, my native candy bowls started from globes from my ceiling fans.

Everybody loved them! So, here are the last 5 completed, you can see the others here.
Green/Blue Candy Bowl with a splash of Gold Leaf


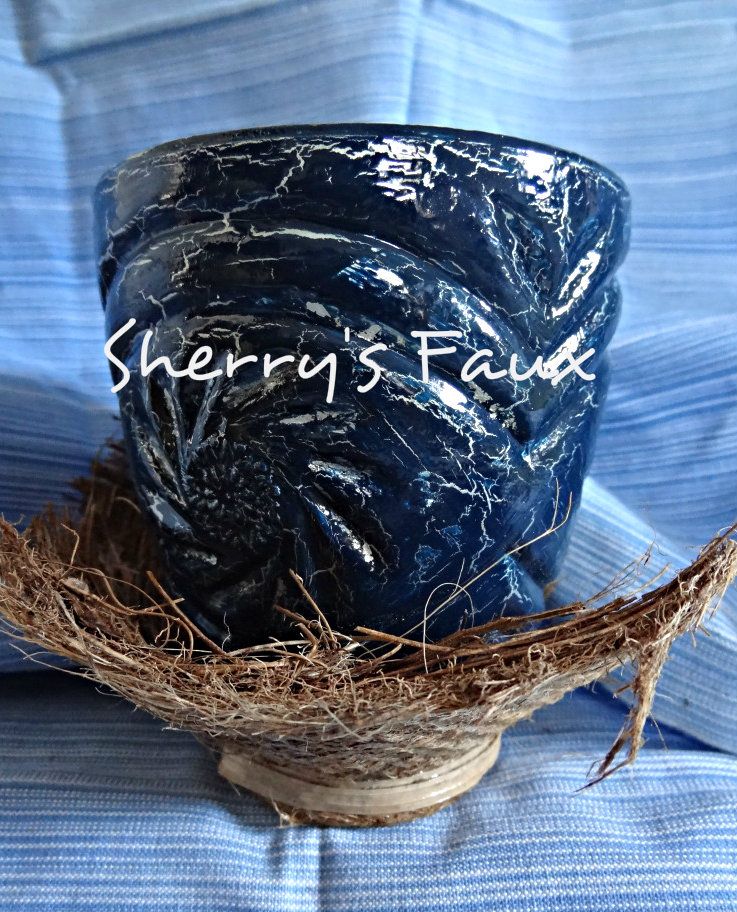
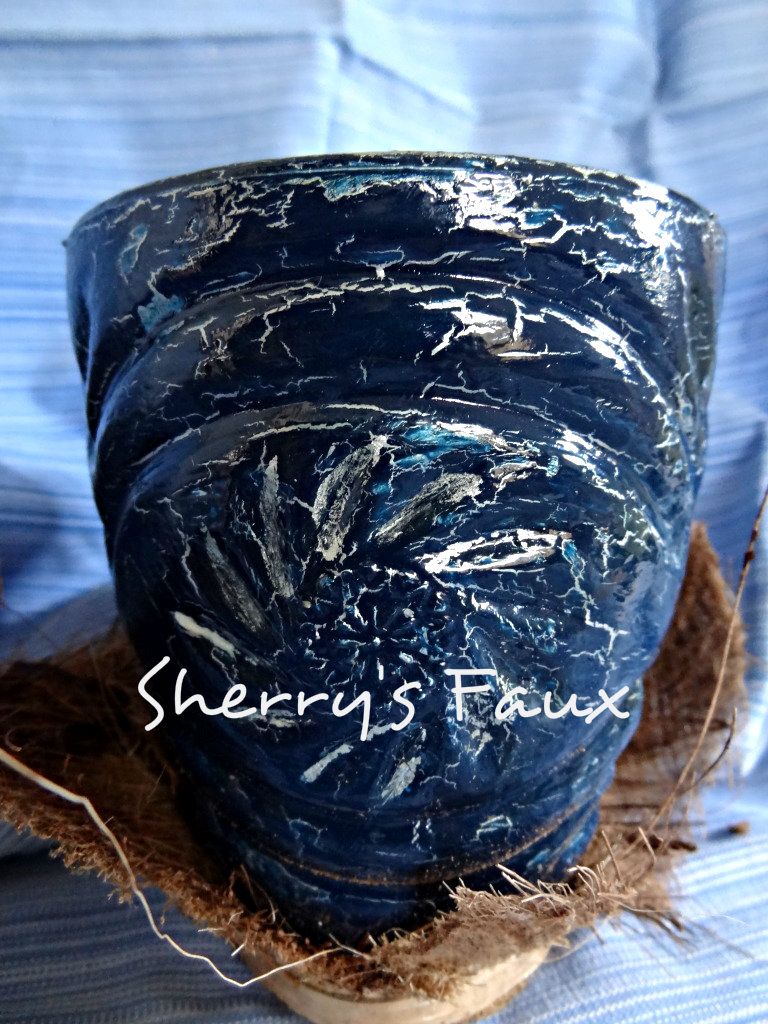
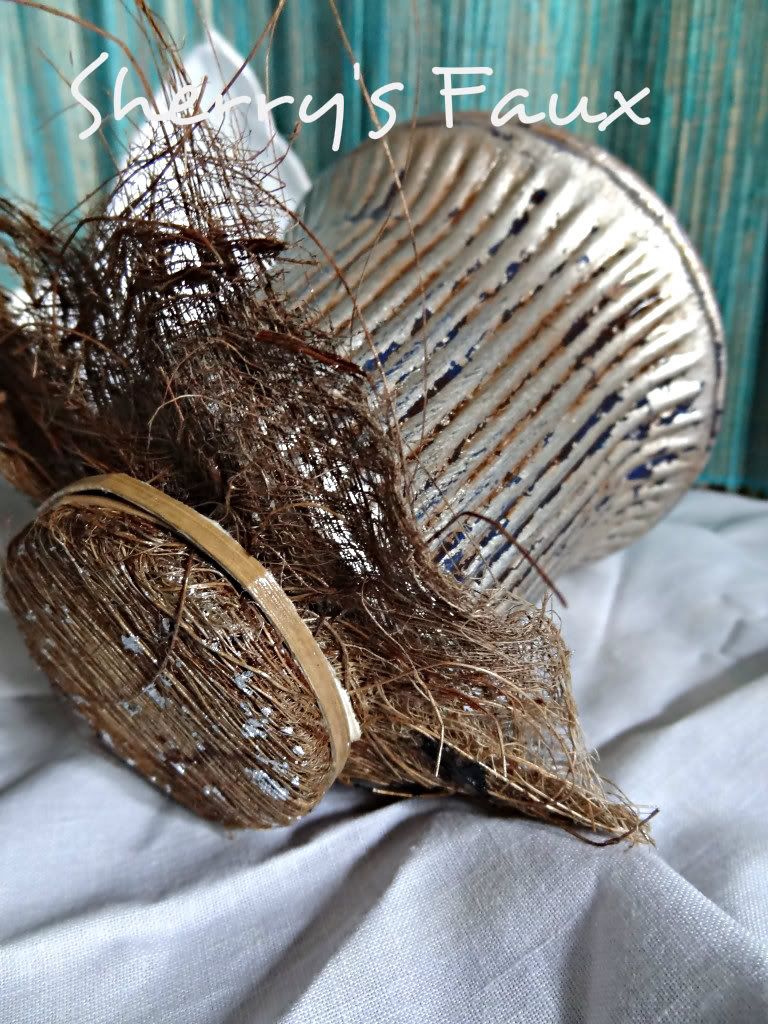
Crackled Navy/Silver Candy Bowl

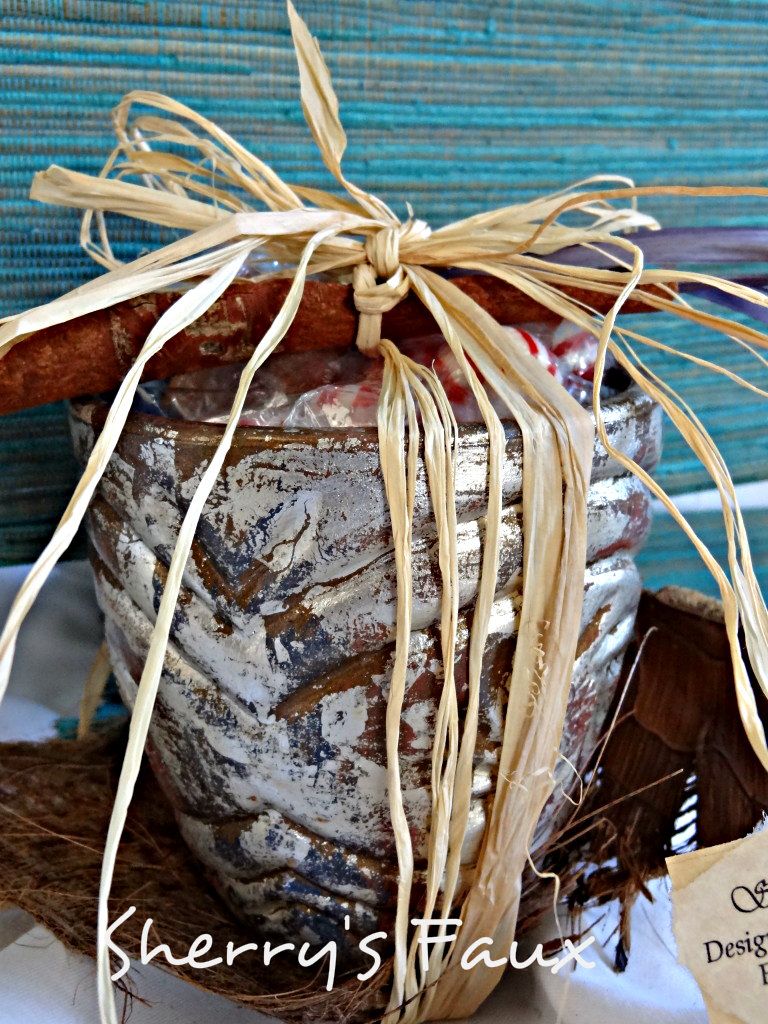
Chalk Painted Candy Bowl


Bronze Candy Bowl with Gold Leafing


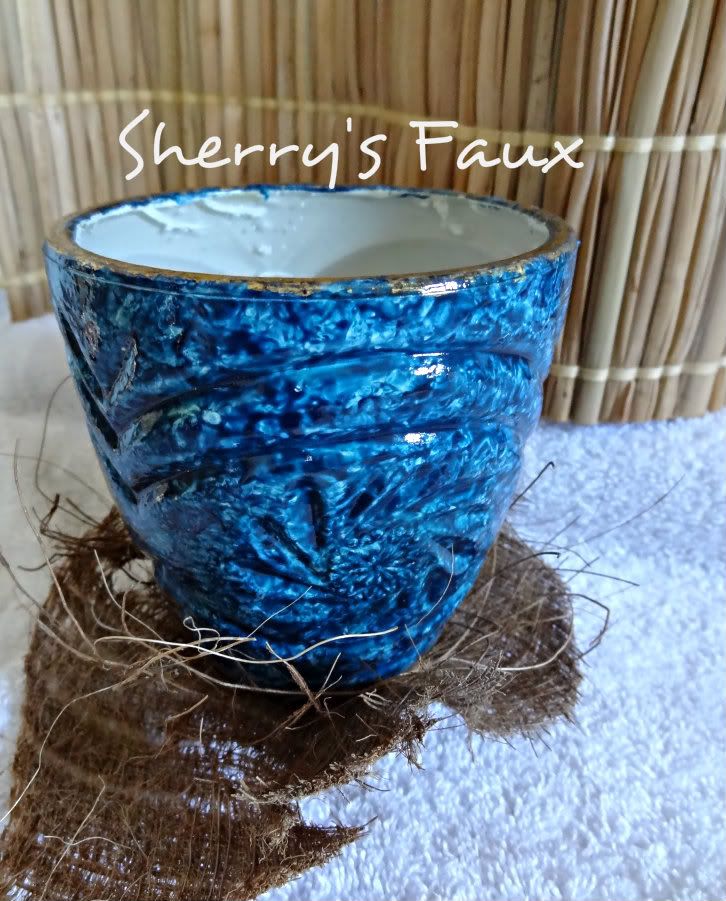
BLUE CANDY BOWL - gold leaf on rim


I'm going to be laying low for a short while after my surgery but I wish each and everyone of you a Blessed, Merry Christmas; Happiness and Joy throughout the Holiday Season! Continue to do what you do best and never forget to LET YOUR CREATIVITY FLOW!
Everybody loved them! So, here are the last 5 completed, you can see the others here.
Green/Blue Candy Bowl with a splash of Gold Leaf
Crackled Navy/Silver Candy Bowl
Chalk Painted Candy Bowl
Bronze Candy Bowl with Gold Leafing
 |
I'm going to be laying low for a short while after my surgery but I wish each and everyone of you a Blessed, Merry Christmas; Happiness and Joy throughout the Holiday Season! Continue to do what you do best and never forget to LET YOUR CREATIVITY FLOW!
Friday, December 14, 2012
Native Candy Bowls
With the holidays almost here, I realized it's time for me to take a break from my studies and get busy on gifts. As usual, for the office I wanted to do something a bit different for my colleagues. I wasn't sure what until it dawned on me, I had my ceiling fans changed and I had been holding on to the globes.


There were two different types of globes. After some thought I decided to go with candy bowls with a native Bahamian flair.
I first based coated with several coats of gesso.

I then proceeded with different color variations. I used metallic paint on some, others I used silver/gold leafing and I experimented with chalk paint on another (haven't completed yet). I then used coconut fiber to seal the bottom - great way to add that native flair! I'm doing 10 in total, but I've only completed 5 so far. Here are the pictures.
Bronze & Hunter Green Candy Bowl with Gold Leafing
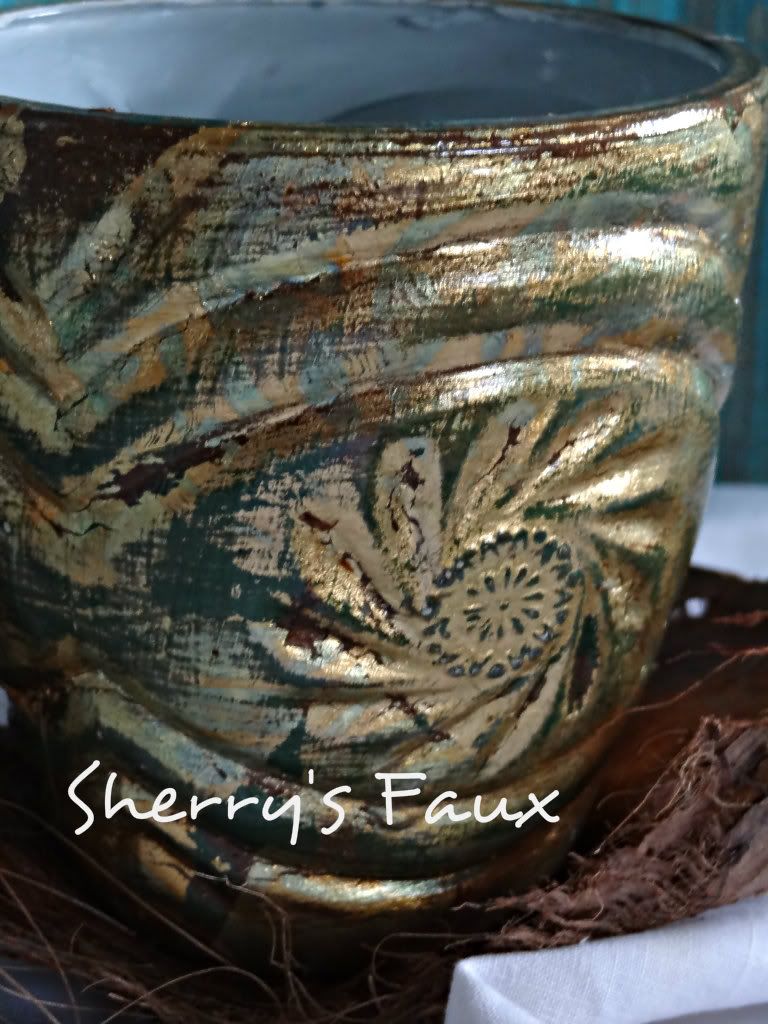
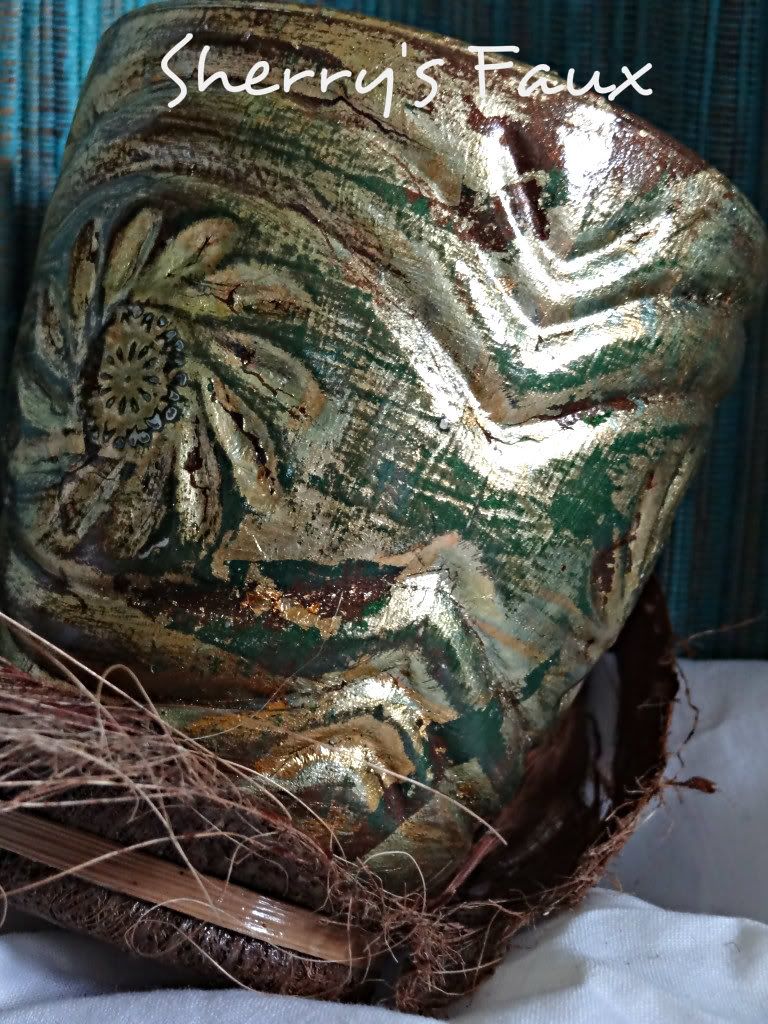

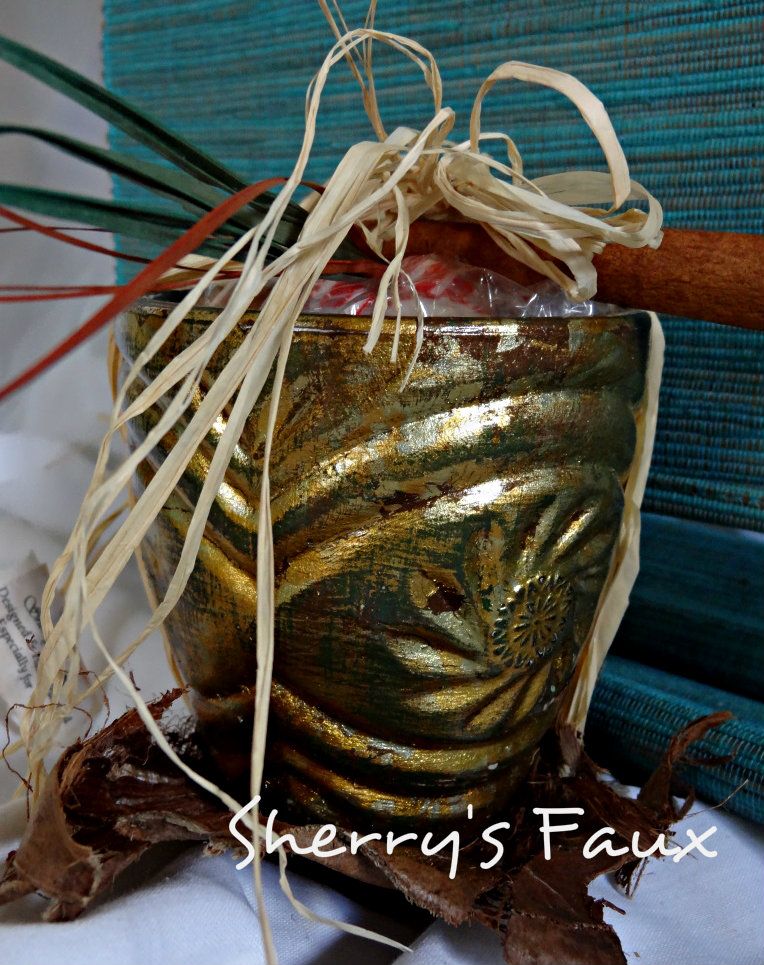
Turquoise Candy Bowl with Gold Leafing

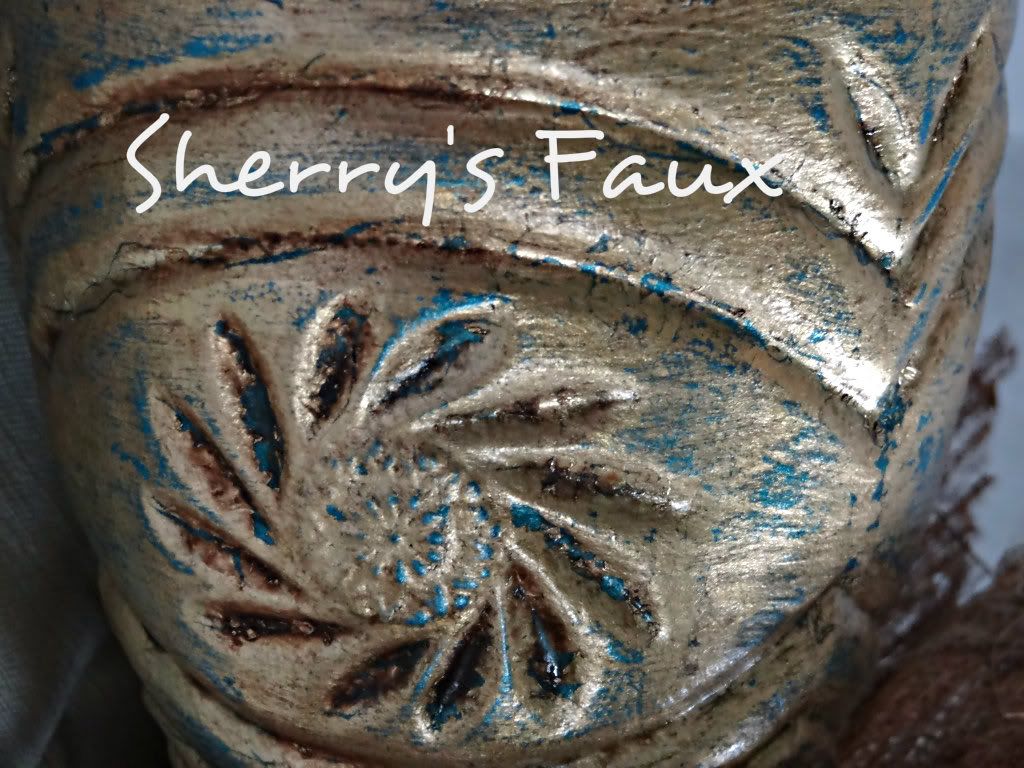

Blue Candy Bowl with Silver Leafing


Bronze, Pink & Blue Candy Bowl with Silver Leafing


Purple Candy Bowl with Variegated Leafing


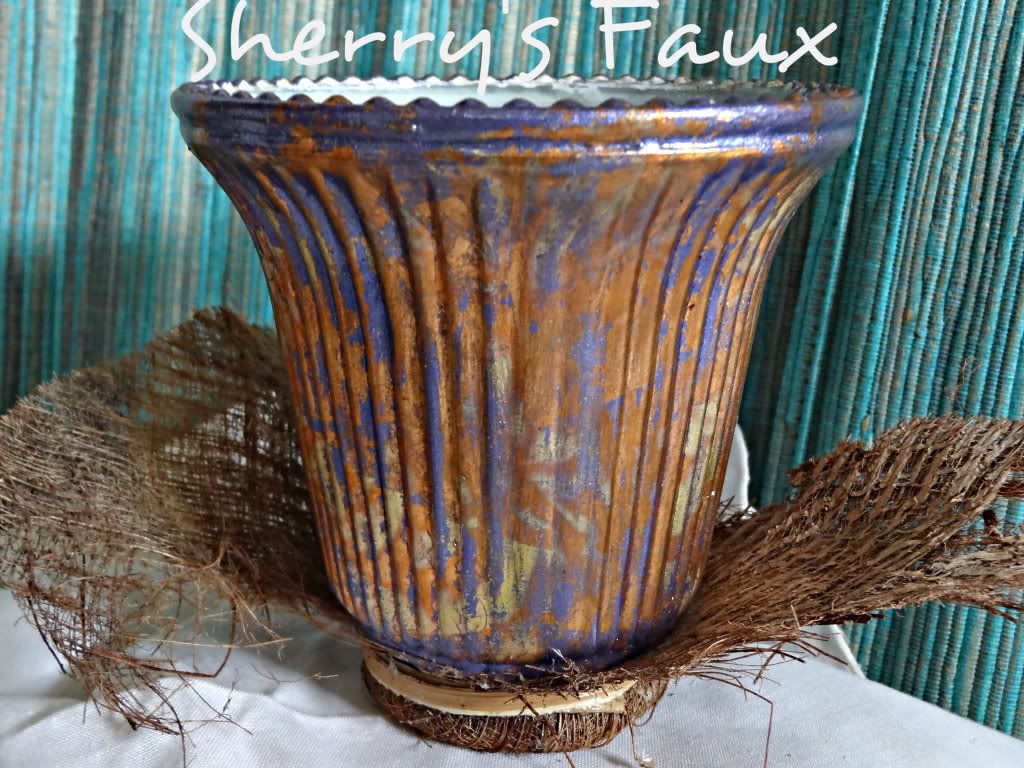

Each is a "one of a kind" and I'm sure will be appreciated. I'll post the other 5 once I've completed them. So until then LET YOUR CREATIVITY FLOW!
There were two different types of globes. After some thought I decided to go with candy bowls with a native Bahamian flair.
I first based coated with several coats of gesso.
I then proceeded with different color variations. I used metallic paint on some, others I used silver/gold leafing and I experimented with chalk paint on another (haven't completed yet). I then used coconut fiber to seal the bottom - great way to add that native flair! I'm doing 10 in total, but I've only completed 5 so far. Here are the pictures.
Bronze & Hunter Green Candy Bowl with Gold Leafing
Turquoise Candy Bowl with Gold Leafing
Blue Candy Bowl with Silver Leafing
Bronze, Pink & Blue Candy Bowl with Silver Leafing


Purple Candy Bowl with Variegated Leafing


Each is a "one of a kind" and I'm sure will be appreciated. I'll post the other 5 once I've completed them. So until then LET YOUR CREATIVITY FLOW!
Thursday, December 6, 2012
Spray Paint Bath Faucets
In my earlier blog when I updated my spare bath I mentioned I couldn't find the faucets I was looking for so I opted to spray paint what I had.
While I had experience painting faucets (see here) I had never spray painted faucets, especially while they were still in tact on the wall. Although I was skeptical at first, it turned out to be very simple and only took 2 days to complete.
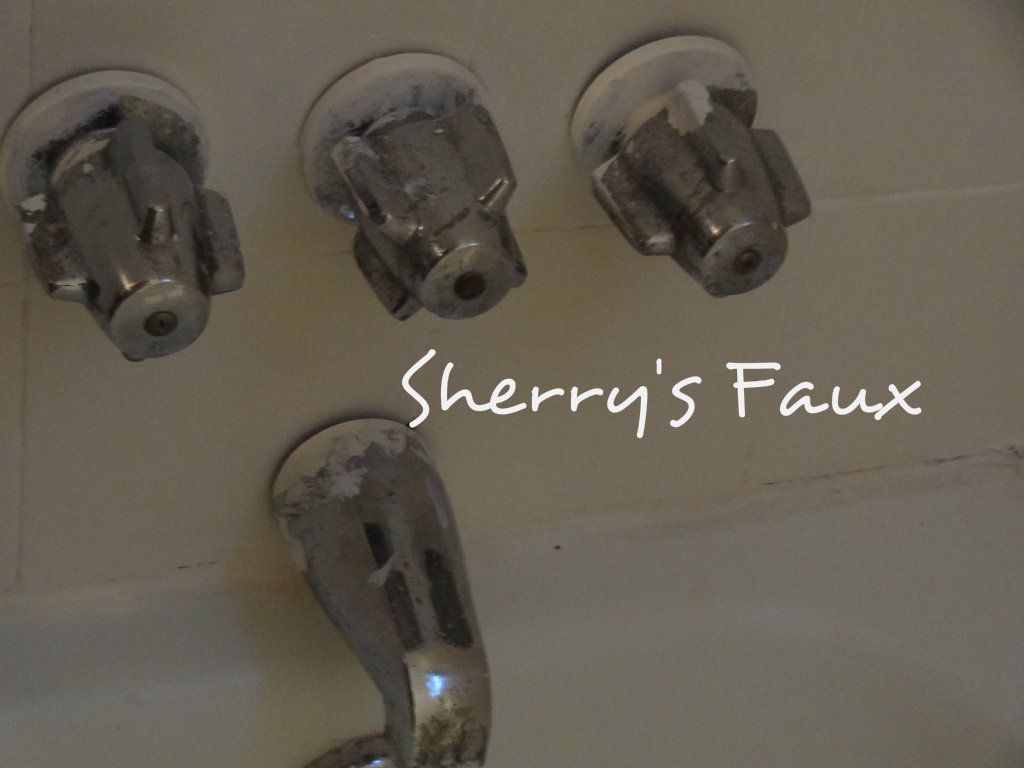
Here were my faucets before
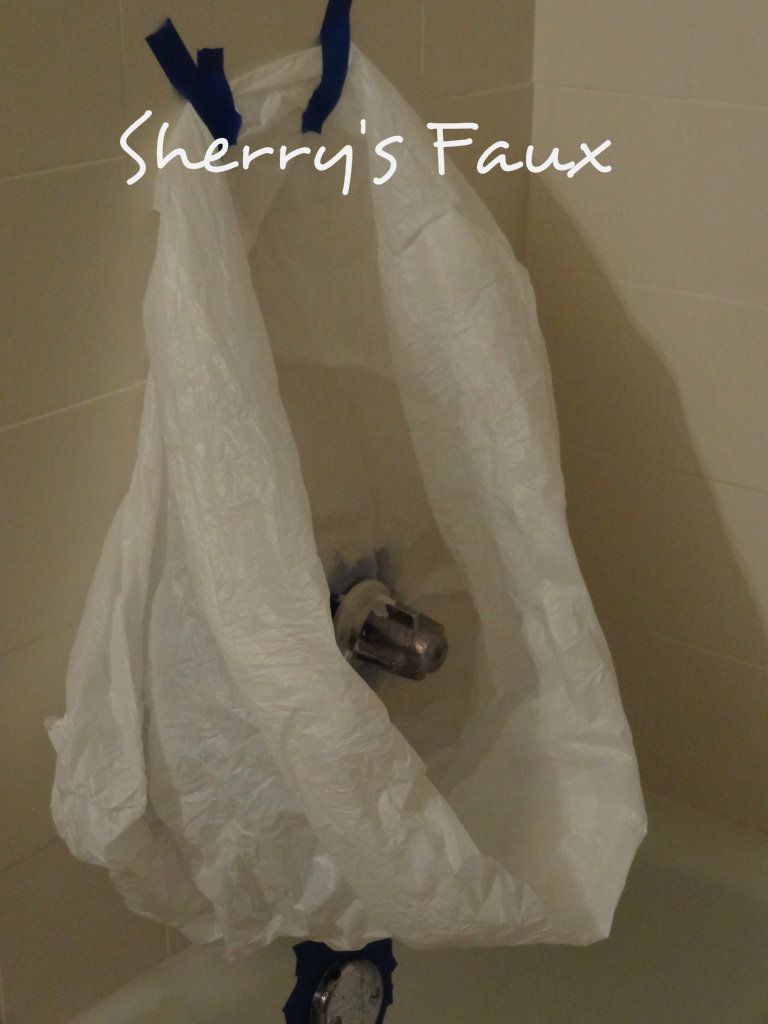
To start, tape around faucets thoroughly, don't be stingy with your tape! (this is important if you don't want the paint to leak through on your walls)

Grab a plastic bag, cut a hole at the bottom, slip the bag over the faucets and tape (make sure there's no opening at the bottom or the paint can seep through and get on your walls or tub.

If you're satisfied with your tape job, grab your spray paint and start spraying. Here's the paint I used.

I used the black Paint & Primer In One for the base coat (this is suppose to be for metal);
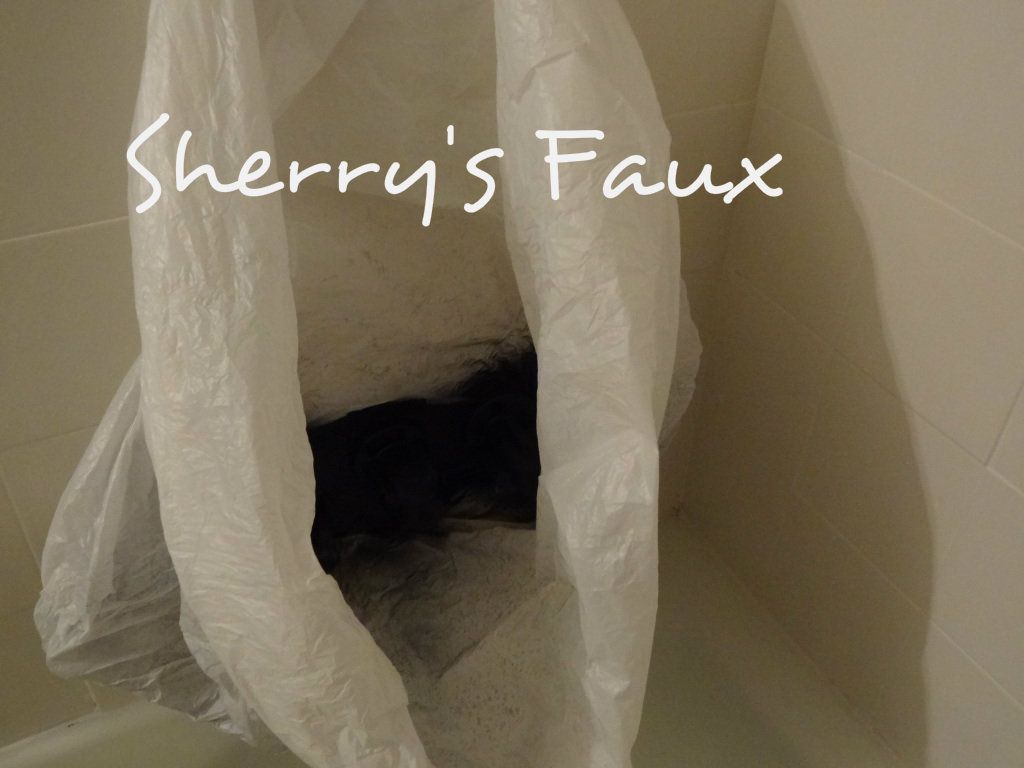
After the 1st coat was dry (I gave it an hour), I applied the 2nd coat I used copper

Once that was dry (another hour or so) I applied the 3rd coat - the black Paint & Primer In One again, but this time I sprayed it sparingly. I wanted that two-tone look. I gave it a day and then I sealed it with the Clear Gloss (I used several coats, but waited 30 minutes between each coat)


After I removed the tape I discovered what happens when you don't tape properly ;-(
Thankfully, with a Q-tip & paint remover I was able to clean up my goof.

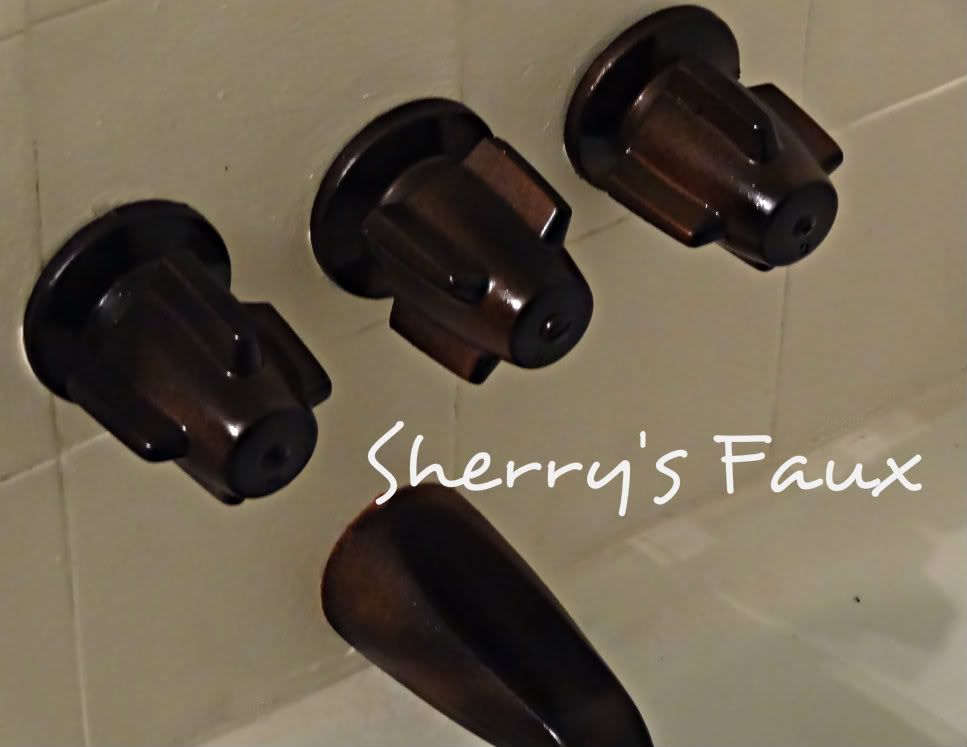
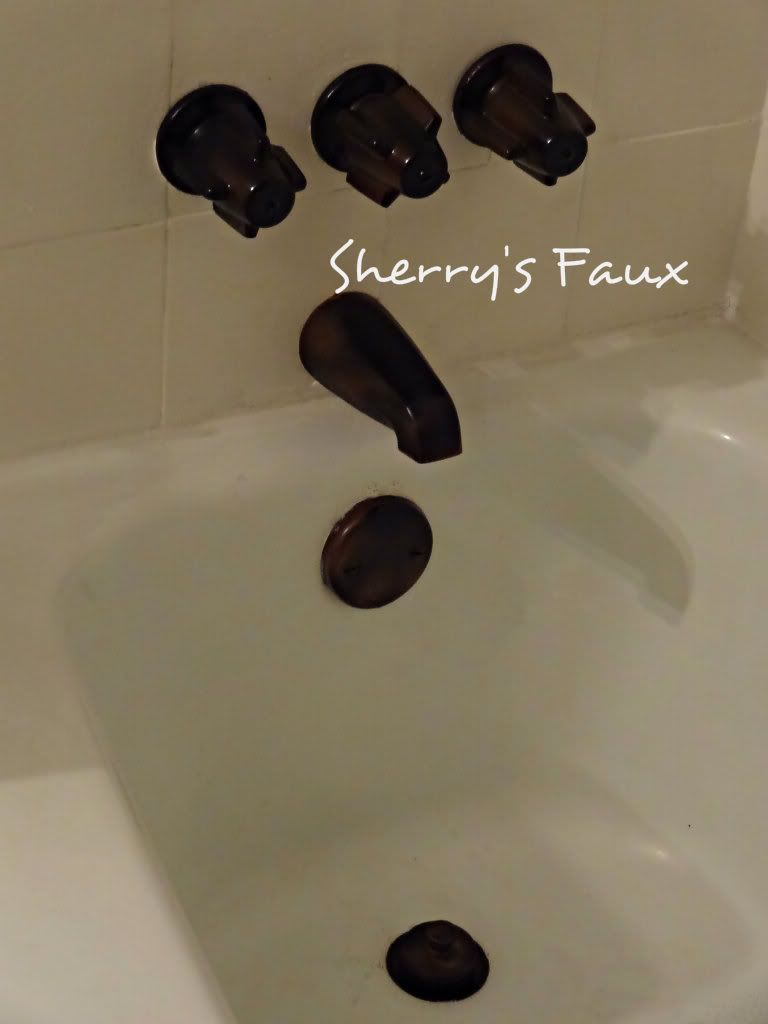
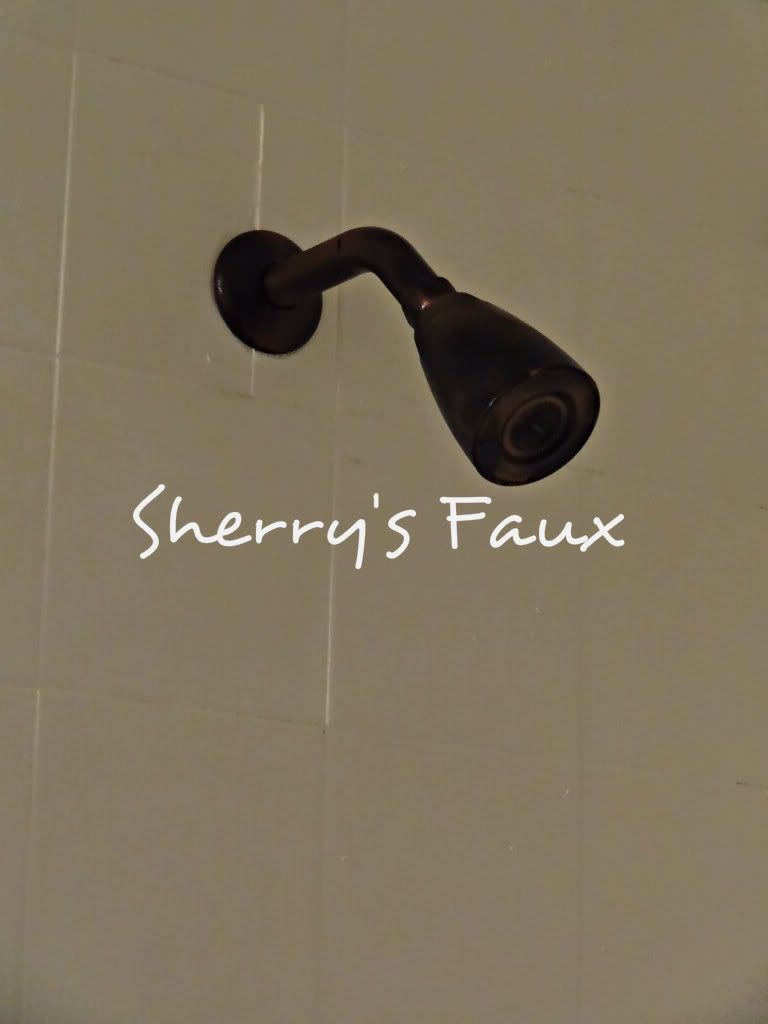
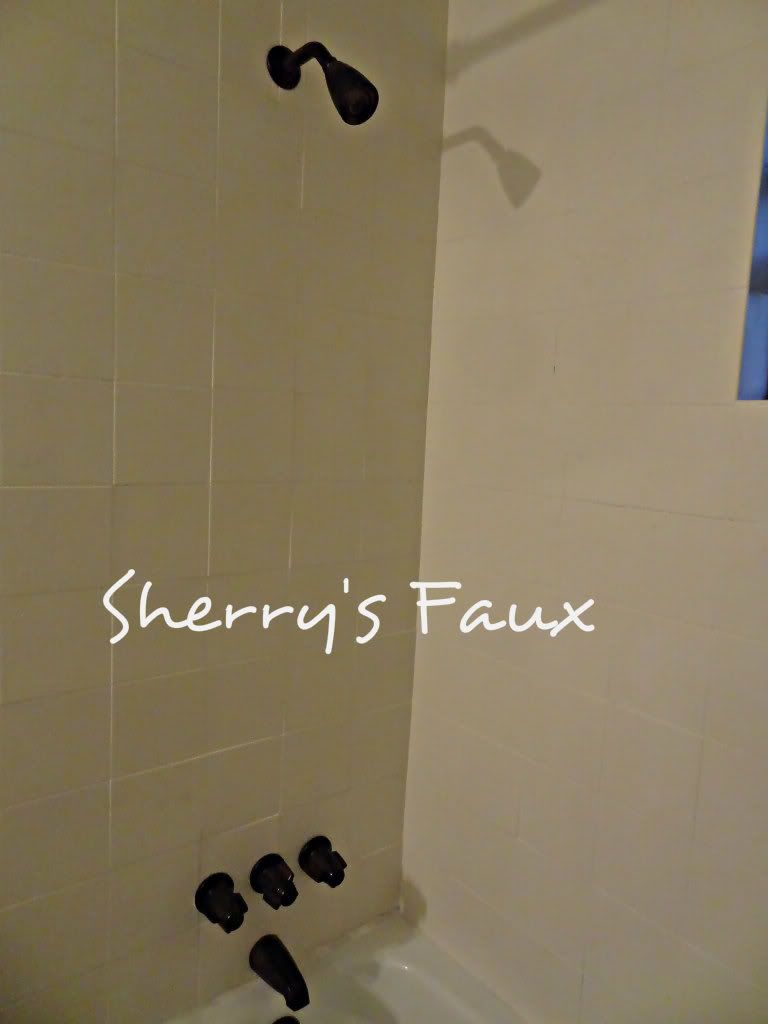
I love how my faucets turned out!

Note this is the spare bath and it will be a few weeks before it gets used, which is plenty of time for the paint to cure. I realize this is a temporary fix but I'm hoping this will last for a year or until I can find the perfect faucets.
You can see more here, but if you prefer to use a paint brush click here.
I would advise giving it a week or more before using your faucets, just to make sure the paint is cured. So the next time you're looking for a temporary fix, get creative, have fun LET YOUR CREATIVITY FLOW!
While I had experience painting faucets (see here) I had never spray painted faucets, especially while they were still in tact on the wall. Although I was skeptical at first, it turned out to be very simple and only took 2 days to complete.
Here were my faucets before
To start, tape around faucets thoroughly, don't be stingy with your tape! (this is important if you don't want the paint to leak through on your walls)
Grab a plastic bag, cut a hole at the bottom, slip the bag over the faucets and tape (make sure there's no opening at the bottom or the paint can seep through and get on your walls or tub.
If you're satisfied with your tape job, grab your spray paint and start spraying. Here's the paint I used.
I used the black Paint & Primer In One for the base coat (this is suppose to be for metal);
After the 1st coat was dry (I gave it an hour), I applied the 2nd coat I used copper
Once that was dry (another hour or so) I applied the 3rd coat - the black Paint & Primer In One again, but this time I sprayed it sparingly. I wanted that two-tone look. I gave it a day and then I sealed it with the Clear Gloss (I used several coats, but waited 30 minutes between each coat)
After I removed the tape I discovered what happens when you don't tape properly ;-(
Thankfully, with a Q-tip & paint remover I was able to clean up my goof.
I love how my faucets turned out!
Note this is the spare bath and it will be a few weeks before it gets used, which is plenty of time for the paint to cure. I realize this is a temporary fix but I'm hoping this will last for a year or until I can find the perfect faucets.
You can see more here, but if you prefer to use a paint brush click here.
I would advise giving it a week or more before using your faucets, just to make sure the paint is cured. So the next time you're looking for a temporary fix, get creative, have fun LET YOUR CREATIVITY FLOW!
Subscribe to:
Posts (Atom)